Working with Grove Sensors
- Argon
- Grove starter kit for Particle Mesh
- The Particle Web IDE and CLI
In this session, you'll use your Particle Argon and the Grove starter kit to set up a distance sensor and a digital display to show the measured distance. If you run into any issues while working on this lab, click here to access the completed source code.
Do you come prepared?
It is assumed that you come to this session with an Argon that you are able to program.
Unboxing the Grove Kit
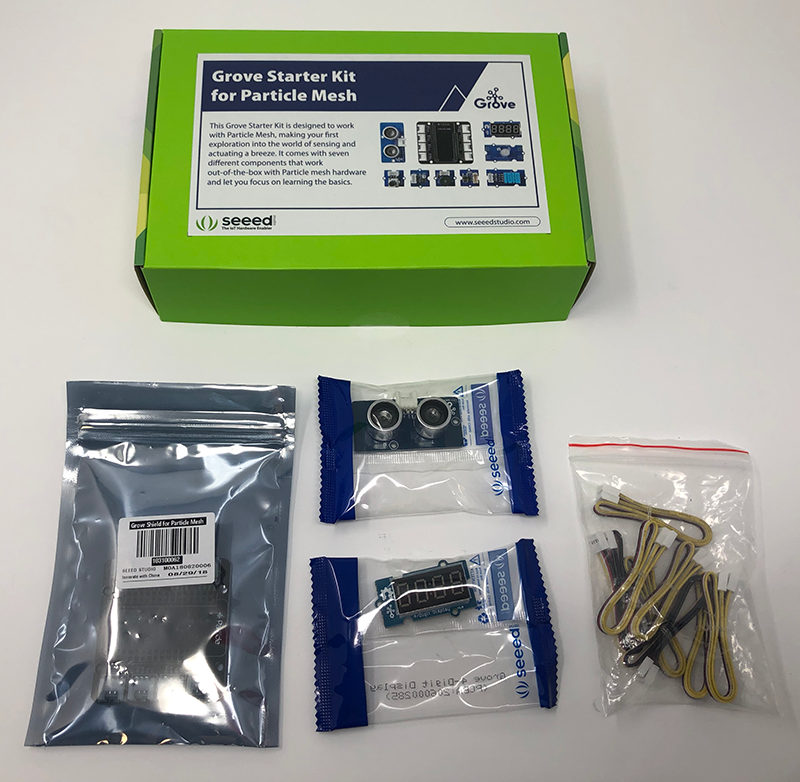
The Grove starter kit for Particle Mesh comes with seven different components that work out-of-the-box with Particle Mesh devices, and a Grove Shield that allows you to plug in your Feather-compatible Mesh devices for quick prototyping. The shield houses 8 Grove ports that support all types of Grove accessories. For more information about the kit, click here.
For this lab, you'll need the following items from the kit:
- Grove Shield
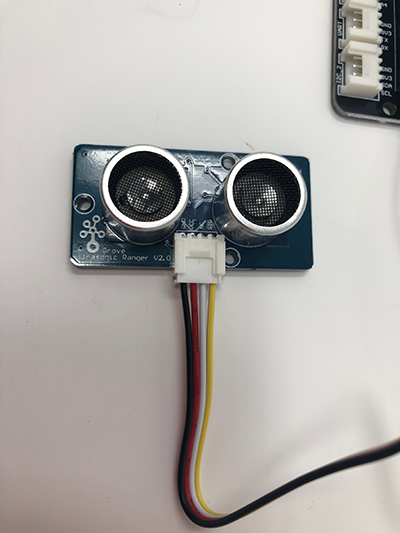
- Ultrasonic Ranger
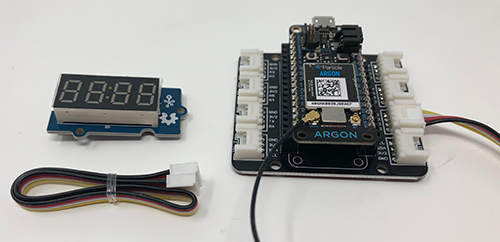
- 4-Digit Display
- Open the Grove Starter Kit and remove the three components listed above, as well as the bag of Grove connectors.
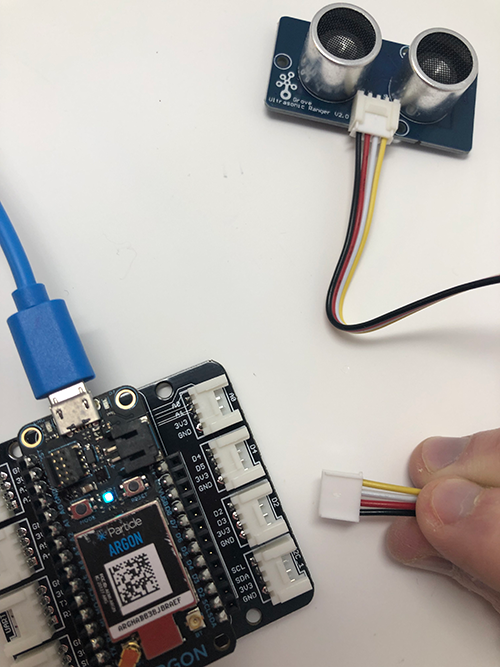
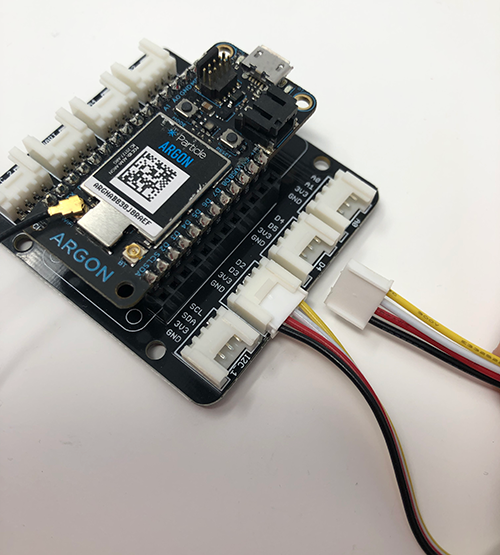
- Remove the Grove Shield and plug in your Argon. This should be the same device you claimed in the last lab.
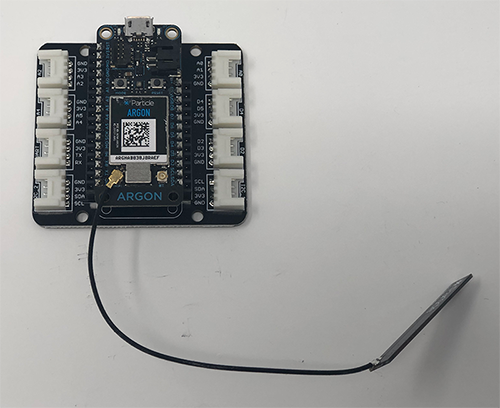
Now, you're ready to start using your first Grove component!.
Measuring distance with the Ultrasonic Ranger
First, we'll connect the included Ultrasonic Ranger, collect distance readings from the device and write those readings to the serial console.
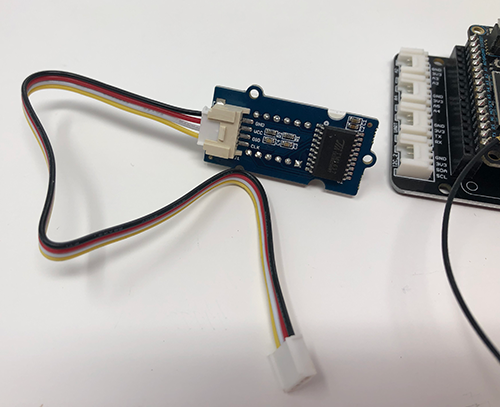
- Open the bag containing the Ultrasonic Ranger and take one Grove connector out of the connector bag.
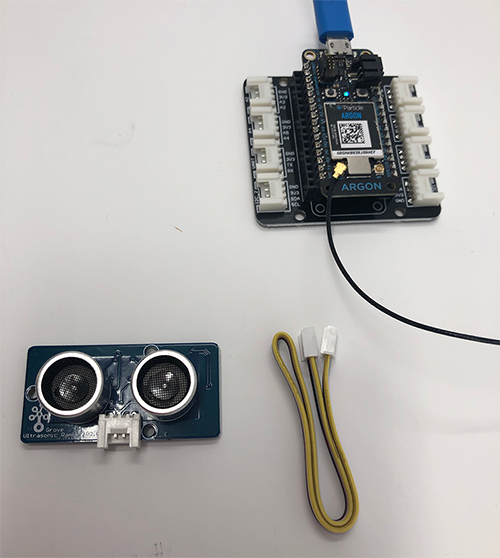
- Connect one end of the Grove connector to the bottom of the Ultrasonic Ranger.
- Plug the other end of the connector into the Shield port labeled
D2.
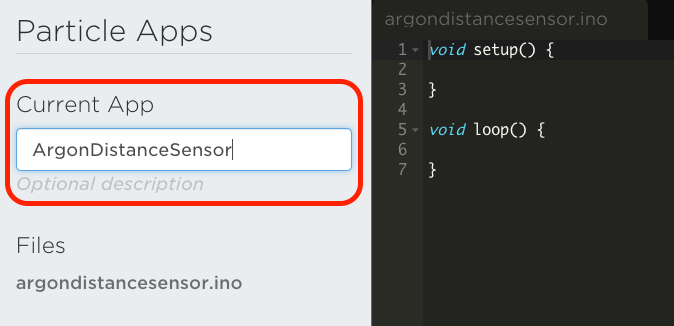
- To program our devices, we're going to use the Particle Web IDE, which you can access at build.particle.io. Log-in to your account and create a new app with a name of your choosing.
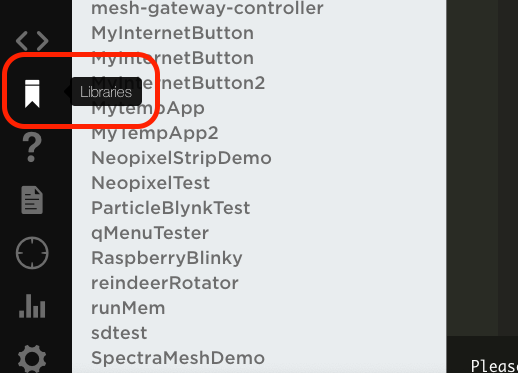
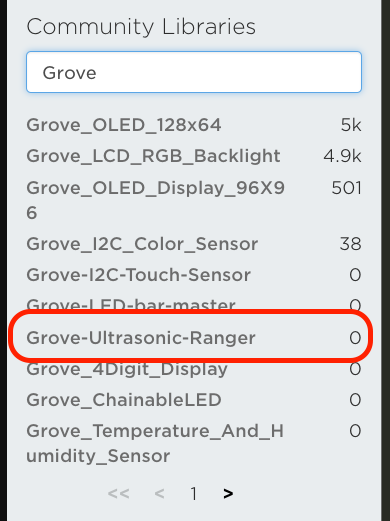
- To use the Ultrasonic Ranger, we'll need the help of a library, which you can include in your project by clicking on the libraries tab in the lower left side of the screen.
- Type "Grove" in the search box and click on the
Grove-Ultrasonic-Rangerlibrary in the results.
- Click on the "Include in Project" button.
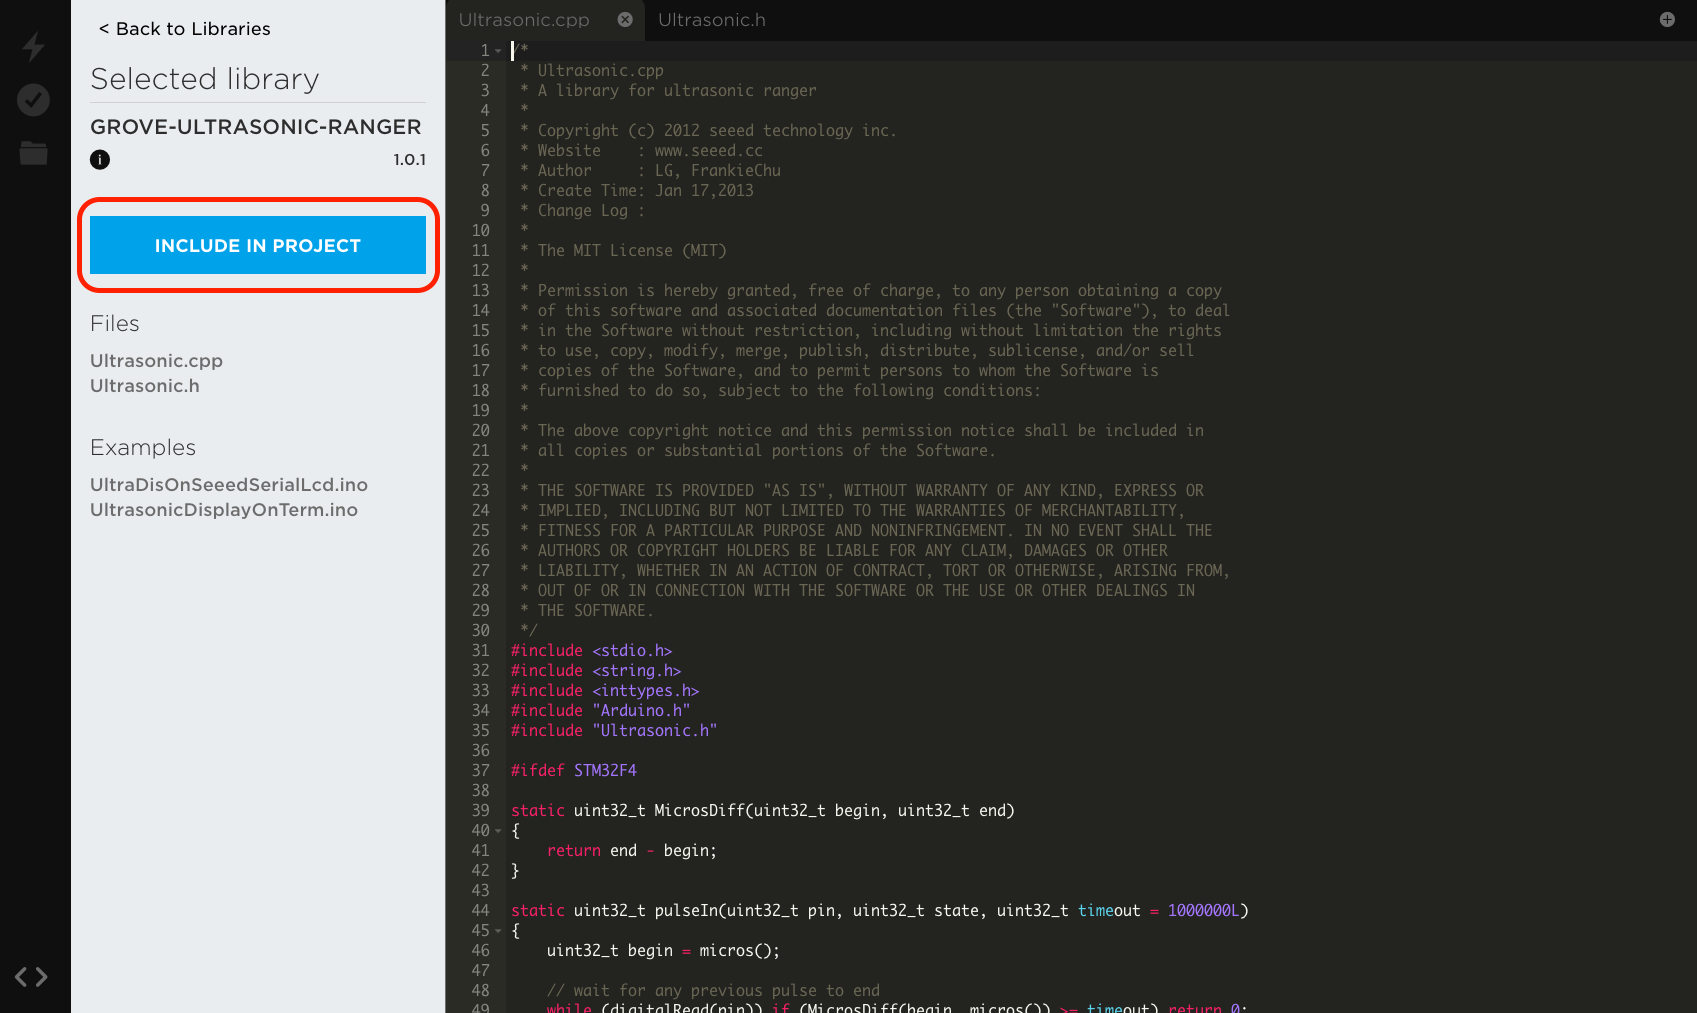
- Select the project you set-up in Step #4 and click "Confirm".

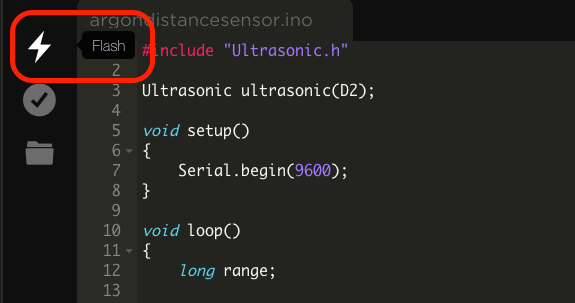
- To start using the library, we'll first need to add an include statement. Add the following to the top of your project file, replacing the
#includestatement that was added when you imported the library.
#include "Ultrasonic.h"
- Then, on the next line, let's configure the ranger with the GPIO pin we plugged the Grove connector into,
D2
Ultrasonic ultrasonic(D2);
- Next, in the
setupfunction, start theSerialmonitor so we can emit readings.
void setup()
{
  Serial.begin(9600);
}
- Finally, in the
loopfunction, calculate the range using themeasureInCentimetersmethod (measureInInchesis also supported), which returns a value between0and400. We'll also include a delay to keep the console scroll factor reasonable.
void loop()
{
	int range;

	Serial.println("Obstacle found at:");

	range = ultrasonic.MeasureInCentimeters();
	Serial.print(range); //0~400cm
	Serial.println(" cm");
	delay(250);
}
- Before flashing your device, open a terminal window and enter the following command. This requires the Particle CLI, which you can install with the command
npm install -g particle-cliif you haven't already.
particle serial monitor --follow
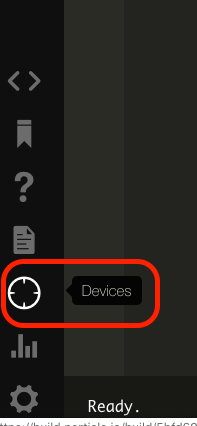
- Now, you can flash the code to your device. First, click on the target icon to open the Devices tab.
- Select your Argon by clicking the star icon next to the name.
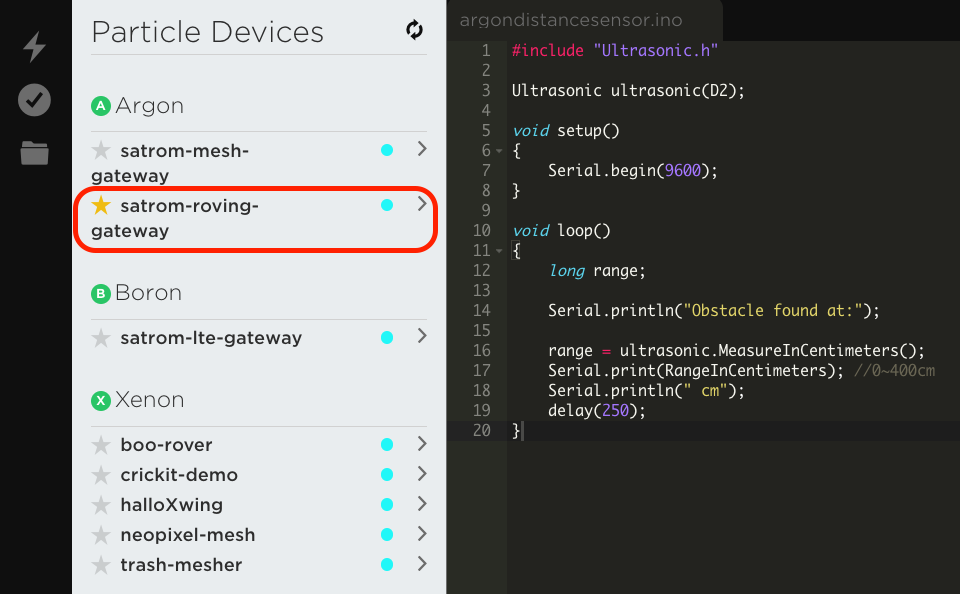
- Click the lightning bolt icon to flash your device.
- The device will update and flash magenta before restarting and breathing cyan again. Once it does, you should see values pop up in your serial terminal window. Try moving your hand in front of the ranger to see what happens.
Using the 4-Digit Display
Next, let's connect the 4-Digit Display and modify our code to display distance measurements from the Ultrasonic Ranger.
- Open the bag containing the 4-Digit Display and take one Grove connector out of the connector bag.
- Connect one end of the Grove connector to the display.
- Plug the other end of the connector into the Shield port labeled
D4.
- As with the Ultrasonic Ranger, the 4-Digit Display uses a library. Open the libraries tab, search for
Groveand click theGrove_4Digit_Displayentry.

- Click "Include in Project", select your project and click "Confirm".

- Remove the auto-included text and add an include for the display library, just after the include for the Ultrasonic Ranger.
#include "TM1637.h"
- The display library uses two digital pins for timing (
CLK) and data (DIO), and we can create a fewdefinestatements to alias theD4andD5pins on the Shield and Argon. Add the following after yourincludestatements:
#define CLK D4
#define DIO D5
- Using those aliases, we can now create a new display class instance, just after the
Ultrasonicclass.
TM1637 disp(CLK,DIO);
- To use the display, we'll first need to initialize it. Add the following lines to the
setupfunction:
disp.init();
//Options are: BRIGHT_TYPICAL = 2,BRIGHT_DARKEST = 0,BRIGHTEST = 7;
disp.set(BRIGHT_TYPICAL);
- With the display set-up, we can use it to show the current reading from our Ultrasonic Ranger. First, we'll need a global variable to hold the last range reading, which you can add before the
setupfunction.
int lastRange = 0;
- Next, in the
loopfunction, we can start by adding a few variables to hold state information we'll need later. Add these right after therangevariable:
int digit;
int pos = 3;
- Then, after the
rangereading, add the following code to display the reading on the display:
if (range != lastRange) {
	lastRange = range;

	// Fill display with zeros
	for (int i = 0; i < 4; i++) {
		disp.display(i, 0);
	}

	// Extract each digit from the range and write it to the display
	while (range >= 1) {
		// Get the current digit by performing modulo (%) division on the range
		digit  = range % 10;
		// Remove the trailing digit by whole-number division
		range /= 10;

		disp.display(pos, digit);
		pos--;
	}
}
The if statement checks to see if the current reading differs from the last. If they are the same, we don't need to update the display. If they differ, however, we'll fill the display with zeros.
The rest of the code is dedicated to extracting each digit from the range variable and writing that digit to the display. One way to accomplish this is to use modulo division by 10 to get the trailing character from a number (i.e. 43 % 10 = 3), and then whole number division by ten to remove the trailing character (i.e. 43 / 10 = 4). Then, we can display the trailing character and repeat the process until there are no characters left.
TIP
The 4-Digit Display is actually four, discrete seven-segment displays chained together. Each call to display expects a character position to write to (0, 1, 2 or 3) and a number between 0 and 15 that represents the digits 0-9 and characters A, b, C, d, E and F.
- Once you've added the code above, you can flash your Argon. After it comes back online, you should see readings on the display!