Get your device running some code
- Argon
- USB cable
- Phone with Particle App
- Computer with Particle CLI
In this lab, you'll claim your first Particle Mesh device, the Argon, with the help of the Particle mobile app. Once you've claimed it, you'll flash some code that blinks an LED on the Argon.
Do you come prepared?
Make sure you have completed all the preperations before advancing beyond this point.
Claim your device
Now you will set up your Argon and claim it to your Particle account.
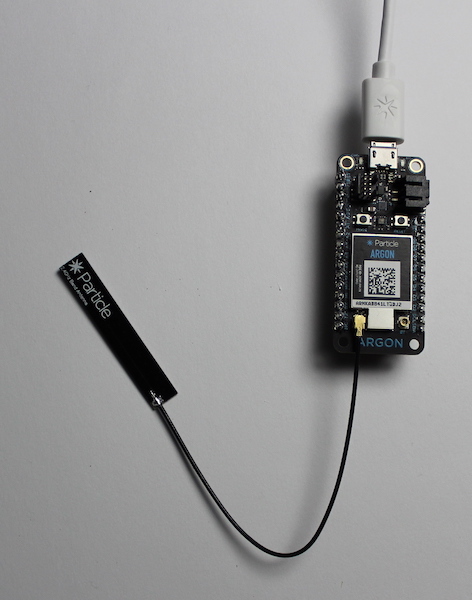
- Open your glorious new Argon Kit. Click on the wifi antenna to the u.fl. connector labelled WIFI. Afterwards, use the USB cable to plug the Argon into your computer. This should power up your device.
Once the Argon powers up for the first time, it will automatically enter "listening mode" (indicated by the RGB LED blinking blue), which means it's ready to be claimed. If you need to actively put your device in to "Listening Mode", hold down the
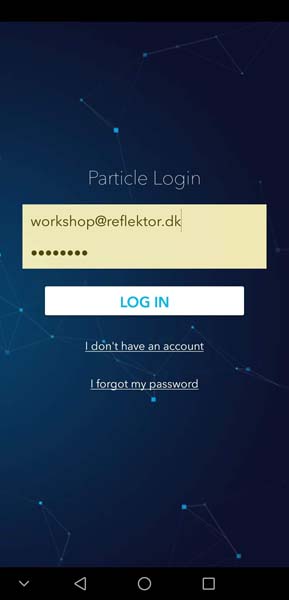
MODEbutton for three seconds, until the RGB LED begins blinking blue.Make sure your phone has Bluetooth turned on. Open the Particle Mobile App and login to your particle account, if you have not already.
- On the "Your Devices" screen, click the "+" icon to add a new device.

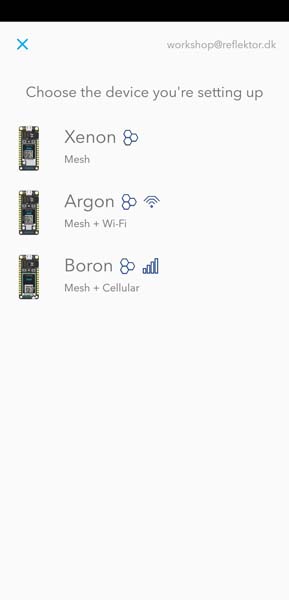
- Select the "Mesh" option and choose the "Argon" option.
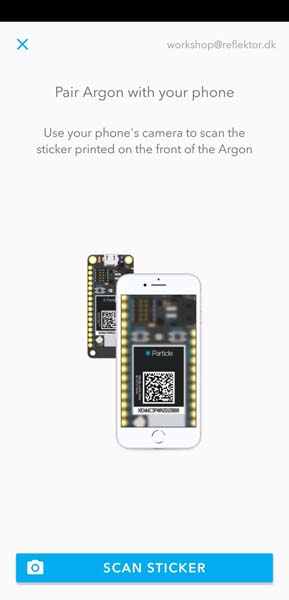
- The next screen will instruct you to find the data matrix printed on your Argon and scan it with your Phone's camera. Make sure to allow the app to access your camera to complete this step.

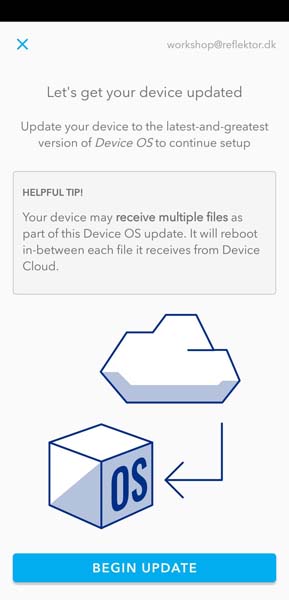
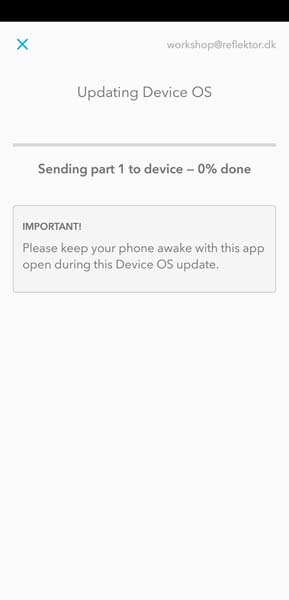
- The app will now use Bluetooth to pair with your device. If this is the first time your Argon is connected, it is probably due for a device OS update. This is handled automatically by the App. this may take some time, depending on the number of updates pending.
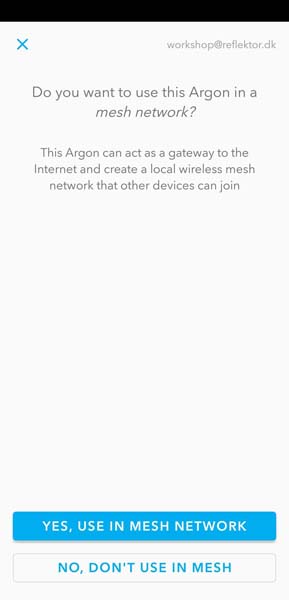
- After the update is complete the app will ask if you want to add the Argon to a mesh network. For now, select NO, DON'T USE IN MESH, as we will will explore the mesh networking capabilities later on.
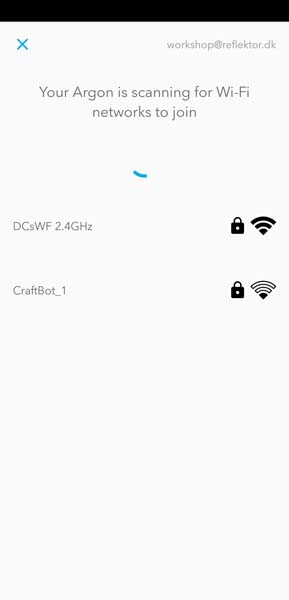
- Conecct your device to the cloud, by providing it with wifi. Select the WiFi you intend to use, and enter the password.
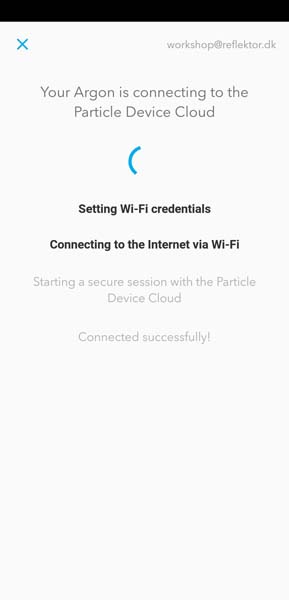
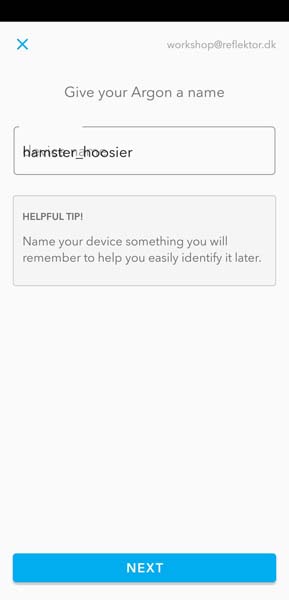
- When your device has connected successfully, you may give it a name. After that, exit the setup.

Congratulations, you've claimed your first Argon. Now, you'll program it to blink an LED.
Program your device
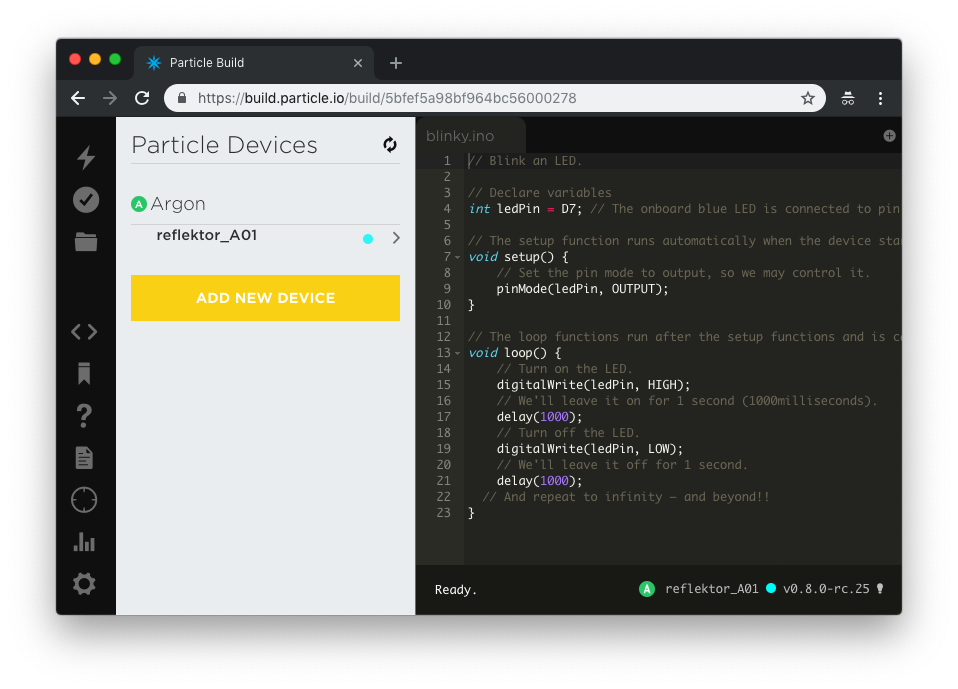
You will now flash code (hardware speak for sending code to a device) from the Particle Web IDE
Go to the Particle Web IDE and login if you have not already.
Create a new app by submitting a title (e.g. "blinky") and press enter.
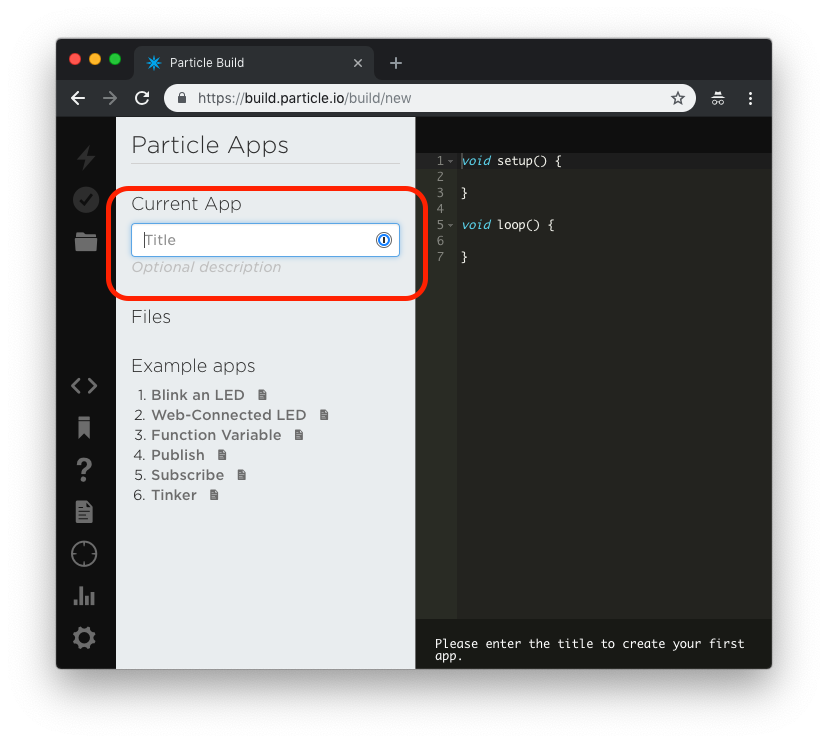
- You should now have a dark right pane with two empty functions declared.
![]()
The goal is now to write code that turns the onboard blue LED on and off every second - a hardware equivalent of the classic "Hello world!".
- The physical pin connected to the blue LED is
D7, we give it a name, so we can call it later on. Do this above thesetupfunction.
// Blink an LED.
// Declare variables.
int ledPin = D7; // The onboard blue LED is connected to pin D7.
- We now need to configure this pin as an output to be able to control the voltage (
HIGHorLOW). This is done inside thesetupfunction.
// Set the pin mode to output, so we may control it.
pinMode(ledPin, OUTPUT);
- Turn on the LED by setting the pin value to
HIGH. This is done inside theloopfunction.
// Turn on the LED.
digitalWrite(ledPin, HIGH);
- To keep the LED on for a fixed amount of time before turning it off again, introduce a delay immediately after.
// We'll leave it on for 1 second (1000milliseconds).
delay(1000);
- Now turn the LED off by setting the pin value
LOW.
// Turn off the LED.
digitalWrite(ledPin, LOW);
- To finalize the code, add a delay after turning the diode off, so it is off for a while, before the loop restarts and turns the diode back on again.
// We'll leave it off for 1 second.
delay(1000);
The "blinky" code is now complete, and it is time to flash it to your physical device.
- Choose which device to target with this code by clicking the crosshair icon in the left pane.
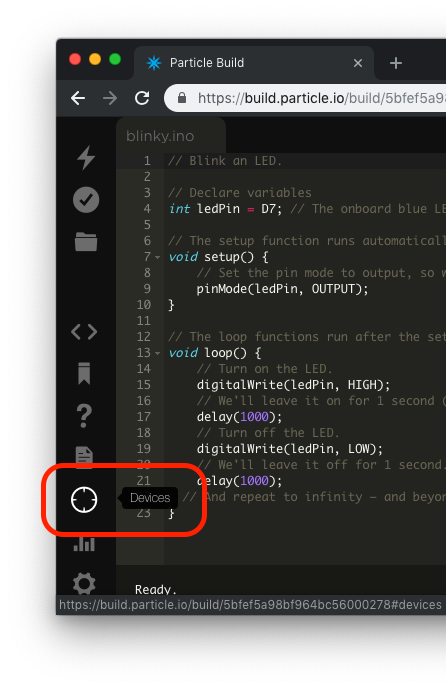
- Your Argon should be on the list, if you have claimed it successfully. If it is online it will have a "breathing" cyan circle right of its name.
...and that's how you get to blinky!
Got stuck in the code?
The final code for this lab is available here.